Digital Compositing, 10 tips for the aspiring motion designer
Il confine tra compositing e motion design è spesso sottile e come aspirante motion designer, è utile che tu abbia una competenza trasversale che tocca questo ambito.
In questo articolo ti darò 10 consigli per ampliare le tue competenze e approfondire in maniera efficace questo tema:
Let’s have a look!
1_Trova riferimenti dal mondo reale
2_I tre canali per un buon compositing
3_Diventa un “osservatore attivo”
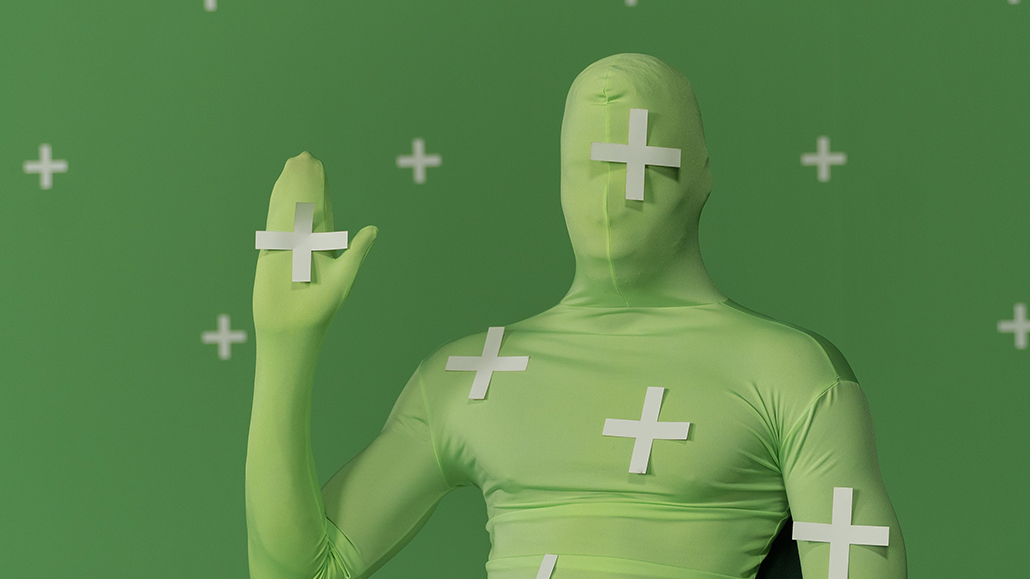
4_Due tipi di Green screen e tre tipi di shots
5_La “chiave” del compositing
6_Molto più che una maschera
7_Randomizzare con metodo
8_Il segreto per gestire la complessità
9_Trova la luce
10_Mai un contorno netto
1_Trova riferimenti dal mondo reale
Il compositing è la scienza di unire immagini provenienti da fonti diverse all’interno di un’unica e avvincente immagine.
It is difficult to simulate something if we do not know how it works in reality.
When compositing, a common task is to re-create a “real world situation digitally.”
That is why it is essential to be able to find appropriate references before starting to work on a compositing scene.
Find some pictures or video of the environment you want to recreate or your character have to interact in.
Doing so will make you more comfortable recreating that situation in your preferred compositing scene!
2_Three channels for a good compositing
When you have to composite a foreground image in a different background, it is typical to deal with colour matching..
For better compositing and colour matching images, set the colour correction using the “level effect.”
Splitting the colour correction into the Red, Green and Blue channels will allow you to set the correct colour balance based on the luminosity of one of these three specific colour channels!
Start by working on the green channel of your image. In digital devices and cameras, green is the colour with much more information within the image.
Set the view of the image to “green channel” and try to match the foreground’s black and white points to the background image’s ones.
Then do the same thing by working on the Red and Blue channels.
Having the same luminosity of the background image and the image you want to composite is crucial for better integration.
Our eyes are more sensitive to changes in luminosity rather than colours.
If you do this process correctly for all three main channels (Red, Green and Blue), you will have precise compositing and colour matching of the images!
3_Become an “active watcher”
Being able to learn “how to see things correctly” is an invaluable skill you should sharpen for better compositing your shots.
We watch a lot of things every day, but we are not very good at observing them.
When watching an image, pose yourself significant questions such as:
Where does the primary light source comes from?
How things that are far from the camera look like?
Which elements influence the surrounding environment?
Those kinds of questions will help you to better analyse your image.
You can train this skill by starting to take pictures with a camera and, Another way is to practice drawing.
These two disciplines force your brain to analyse an image and force yourself to question how things are made, how the light behaves, and how the environment influences the colour change.
I advise you to start to watch around you carefully, and deeper analyse images to better understand the effect you want to recreate!
4_Two kind of greens and Three types of shots.
An essential piece of information you should know is that there are 2 types of green screens:
Backdrop and Cyclorama.
and there are 3 types of shots that you can film on a green screen:
Locked shots, Pan/Tilt shots and Matchmoving shots.
Knowing these basic pieces of information gives you a more precise idea of how to approach and manage footage recorded on a green screen.
The next step to mastering VFX is learning to solve this kind of situation correctly, as everyone needs a different technique!
5_The “key” of compositing
Keying is the process of erasing a green background from the footage.
Usually, the green screen is used to film characters that will be placed and composited on virtual backgrounds; it is a pretty common situation for a compositor to work with!
To create a perfect key there is no “one-click solution”!
In After Effects, the effect “Keylight” is the tool you will use to deal with green screens.
Even if the effect is full of controls, you need to master just a few of them to create a perfect matte:
“Clip black”, “clip white” and “screen gain” are some of them.
Another tip is to split your key into many small shapes that work on a specific area.
It is also essential to consider creating mattes such as “garbage matte”, “core matte”, and “edge matte” for taking control of specific areas of the image you are working on.
6_More than a mask
Rotoscoping is the ability to create a moving mask and isolate a subject from its background.
Being able to make rotoscoping is very useful both for isolating subjects and for creating advanced masks!
The concept behind rotoscoping is to create solid shapes that we will use as “alpha matte” for isolating the subject.
Because we are working on videos, our subject will be moving through the frame; that is why the ability to make accurate tracking is crucial for rotoscoping.
There is no better way to force a mask to be stuck into a moving shape than track it to the subject!
By tracking the mask to a subject, you will ensure you do a good 50% of your masking job.
Once your mask is tracked, you must refine the shape as it changes through the video.
By doing so you will decrease the amount of work and time required to manually move all the points of the mask.
A compelling way to track a subject for rotoscoping is using the Mocha plug-in within After Effects.
No worries if you do not have time to learn new software!
You can get very good results by using a classic point track, a camera tracker or a simple mask track within After Effects.
7_Randomize effectively
A common task you will probably be doing as an “aspiring motion designer” who deals with compositing is to duplicate elements in your scene to extend a set or enlarge an environment.
A quick tip to duplicate and effectively randomise an element is by flipping the image on the X axis and scaling it in different sizes using the “Big, medium and small” rule.
The rule works by making a few big copies of the element, some more copies scaled in medium size and plenty of small copies to distribute in the scene.
Remember to position the elements with an excellent composition!
If your source element is a video, also change the “In point” of the clip to make sure the copies are out of sync with each other.
By following these little tips, you can fake the effect of an extended environment by starting with just a few copies of the single element!
8_The secret for managing complex shots
An efficient and straightforward way to manage complex tasks is to split them into many smaller and more manageable tasks.
The same principle can be used in compositing!
The next time you have to work on something that looks very complex, analyse it deeply before starting the job and focus on how you can split the final result into many smaller tasks.
You will find it easier to complete a task by approaching it this way!
Complexity results from a process and is not a practical approach to solving problems!
9_Find the light
An effective way to analyse a scene for compositing is by watching the background and the scene’s environment.
A key aspect to consider when analysing the environment is the leading light, which sets the scene’s mood.
Understanding how the light behaves in your scene will allow you to quickly transfer many crucial aspects into the element you are trying to composite.
An important aspect to consider is the light direction and colour.
It will consequently affect the lighting, colours and behaviour of the element you are comping in the scene.
Use the light as your “polar star” to analyse your scene and composite your elements effectively.
10_Never a sharp edge
A simple yet effective tip to blend elements in compositing is to use the “feather-propriety” and “light wrap!”
By observing the footage and zooming it a lot, you will notice that the edges of the objects are not so sharp and defined, and things have slightly blurred boundaries.
In After Effects, you can easily find the “feather-propriety” in the mask menu.
The“Feather” will unsharp the edge of your mask, helping you blend the edges of an image with the background and surrounding elements.
If you are working with an image with its alpha channel, you can feather its edges using an effect called “inner/outer key.
You can contract the edge of your image and feather its edge slightly.
Another excellent tip for blending images is using the “light wrap!”
“Light wrap” mimics the effect of wrapping that the light’s colour has on a subject’s edge.
The combination of these techniques together with good colour matching is what you need to integrate an element and its background perfectly
Lights and colours will result be coherent within your scene.
These little tips will help add realism and enhance your overall compositing.


